IOS Email Setup Process
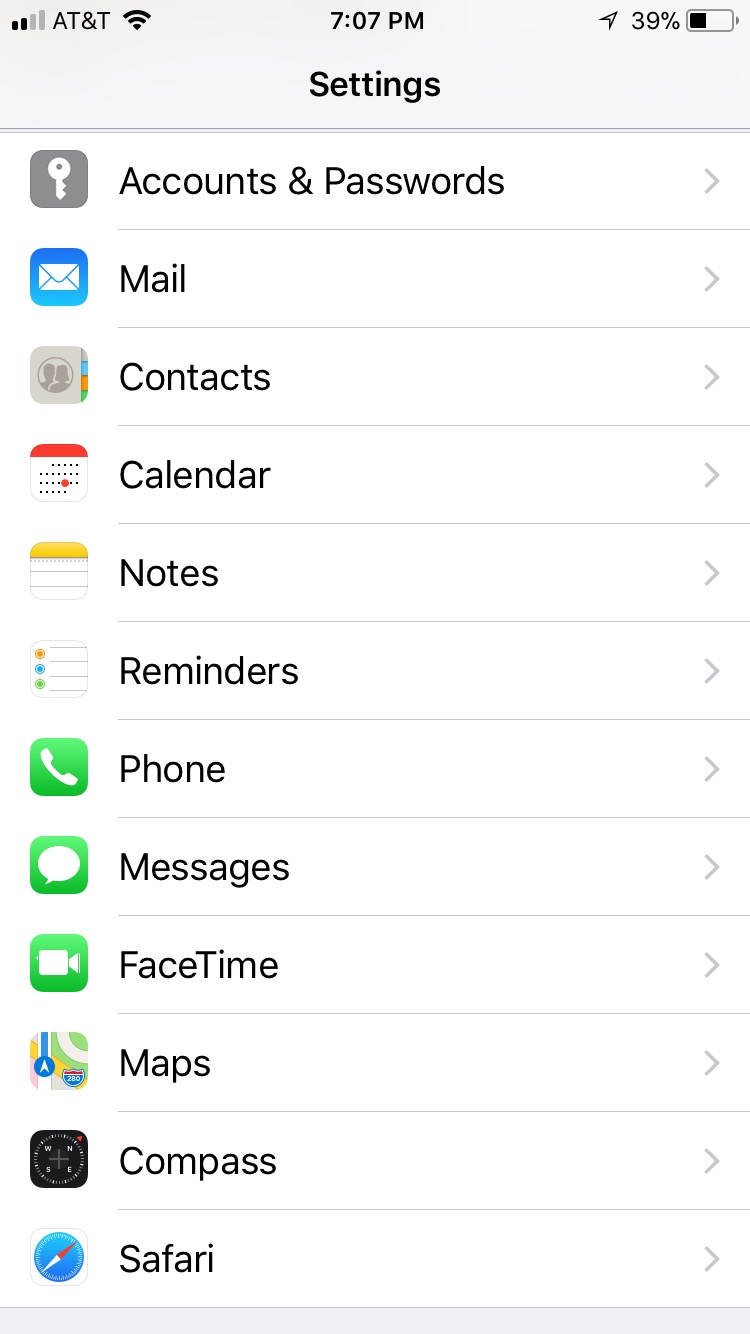
Step 1
Open under your Settings Gear Icon, "Accounts & Passwords".
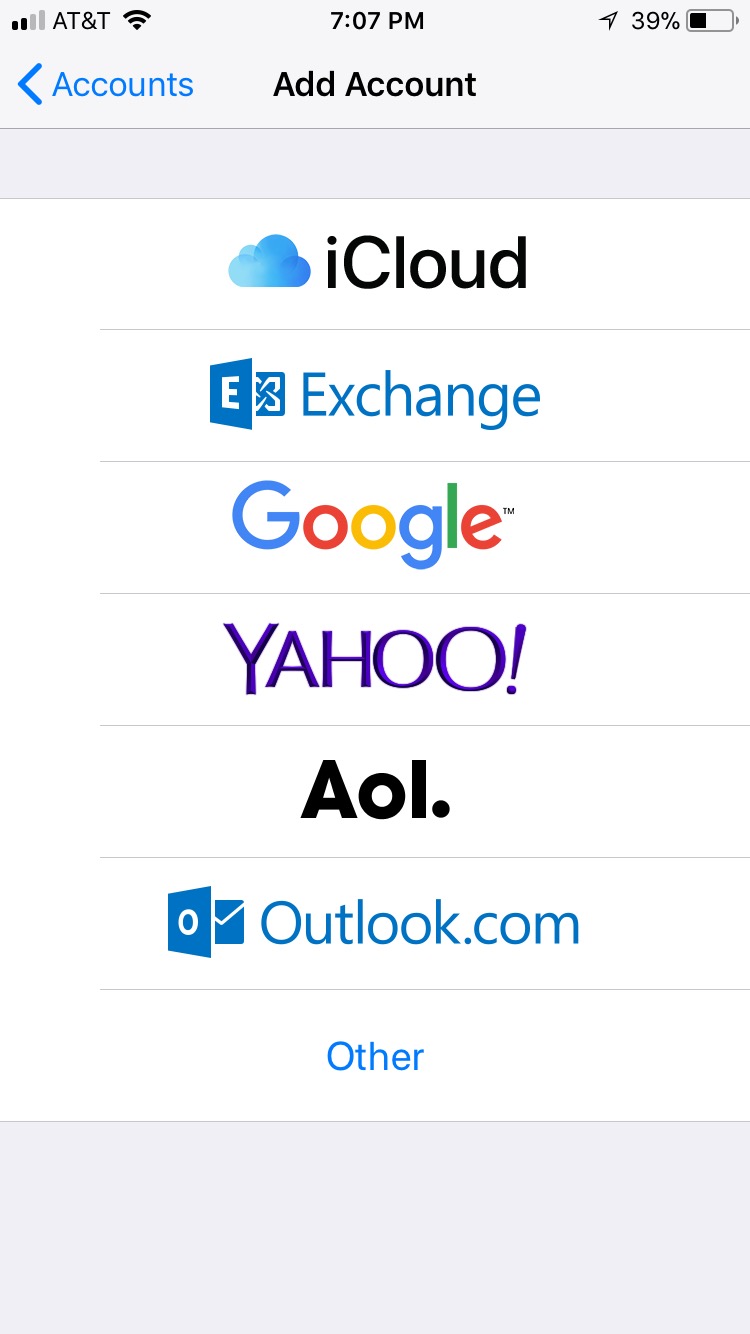
Step 2
Under "Add Account" select "Other".
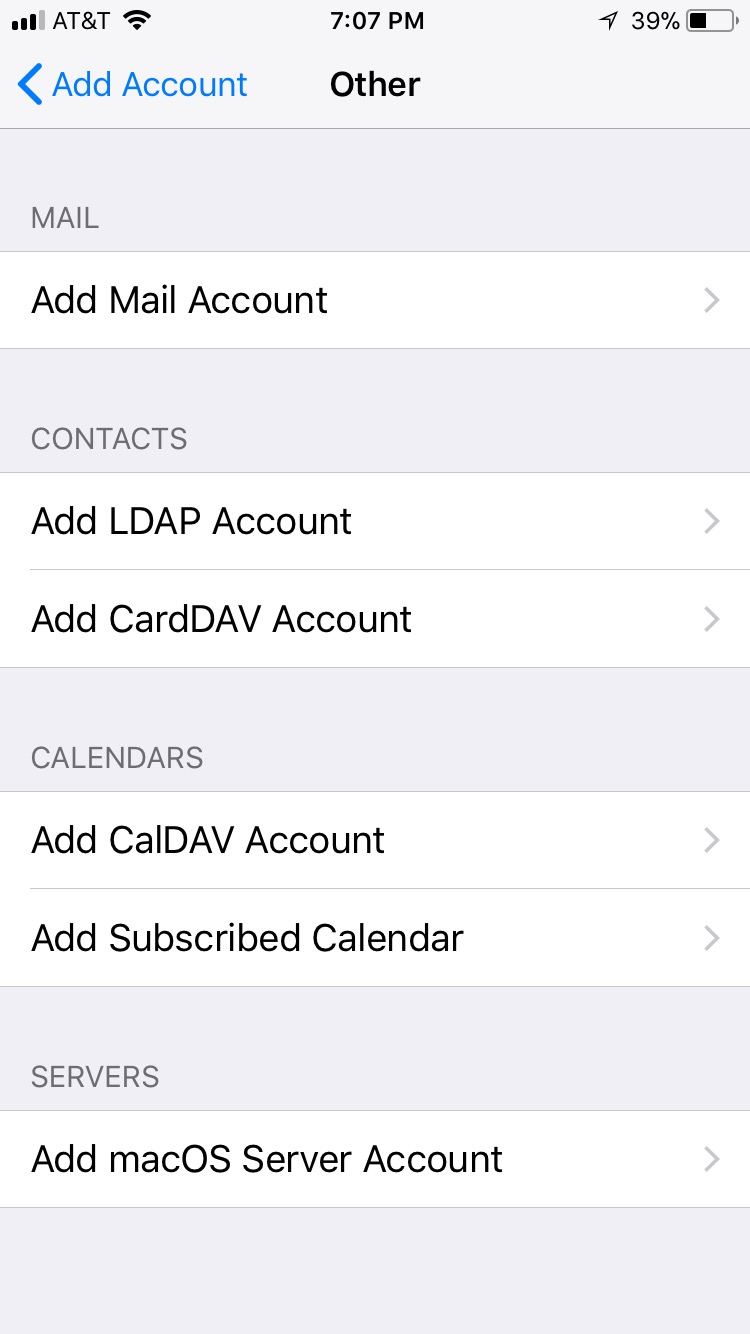
Step 3
Under the "Other " screen select "Add Mail Account".
Step 4
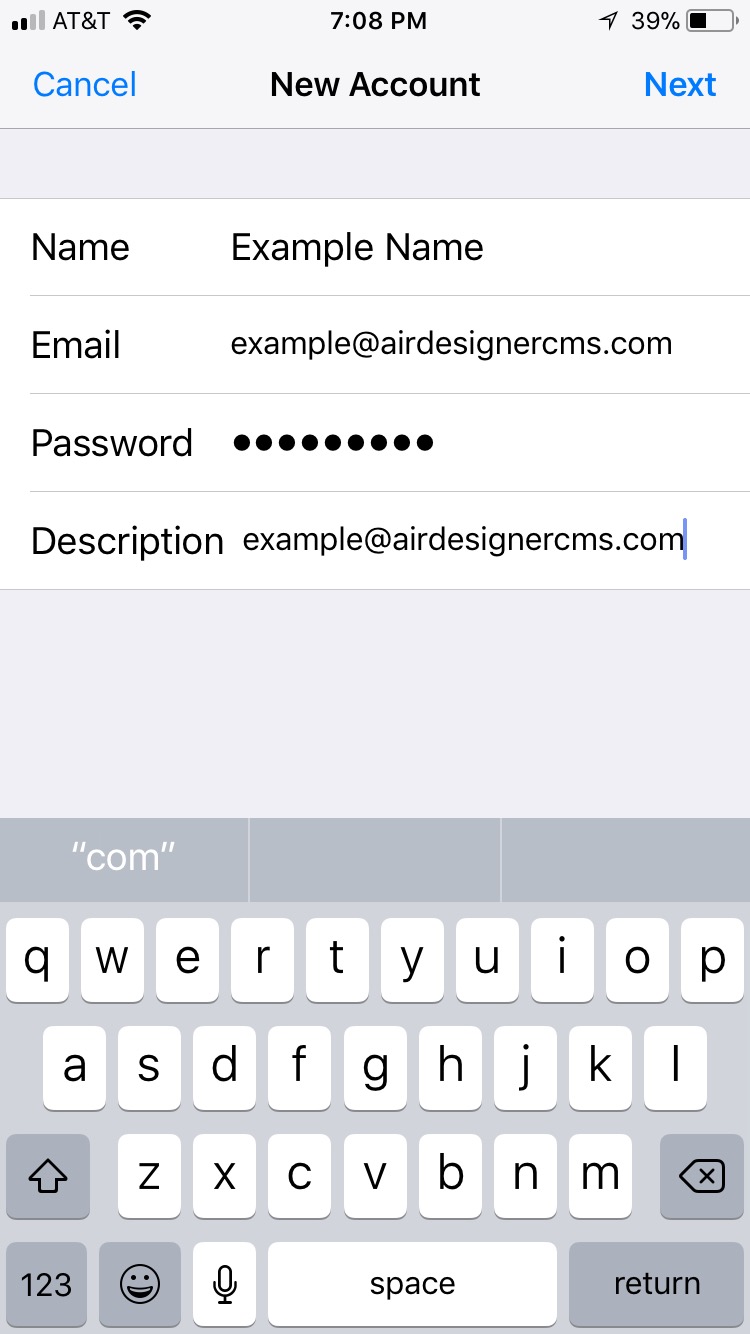
Under "New Account" fill in the following information.
Name: As you would like it to appear to others.
Email: the complete address as provided.
Password: Be sure this is the correct one, first before attempting, if uncertain test it by checking your email via Webmail here: https://airdesignercms.com/webmail/ Failure to enter your correct password may get your IP banned from the server, contact support for further details.
Description: this is for your own reference, choose something you will understand.
Click "Next"
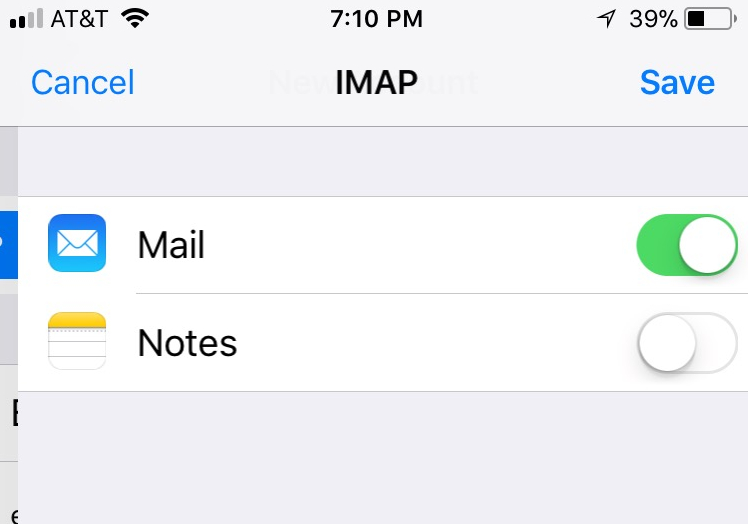
Step 5
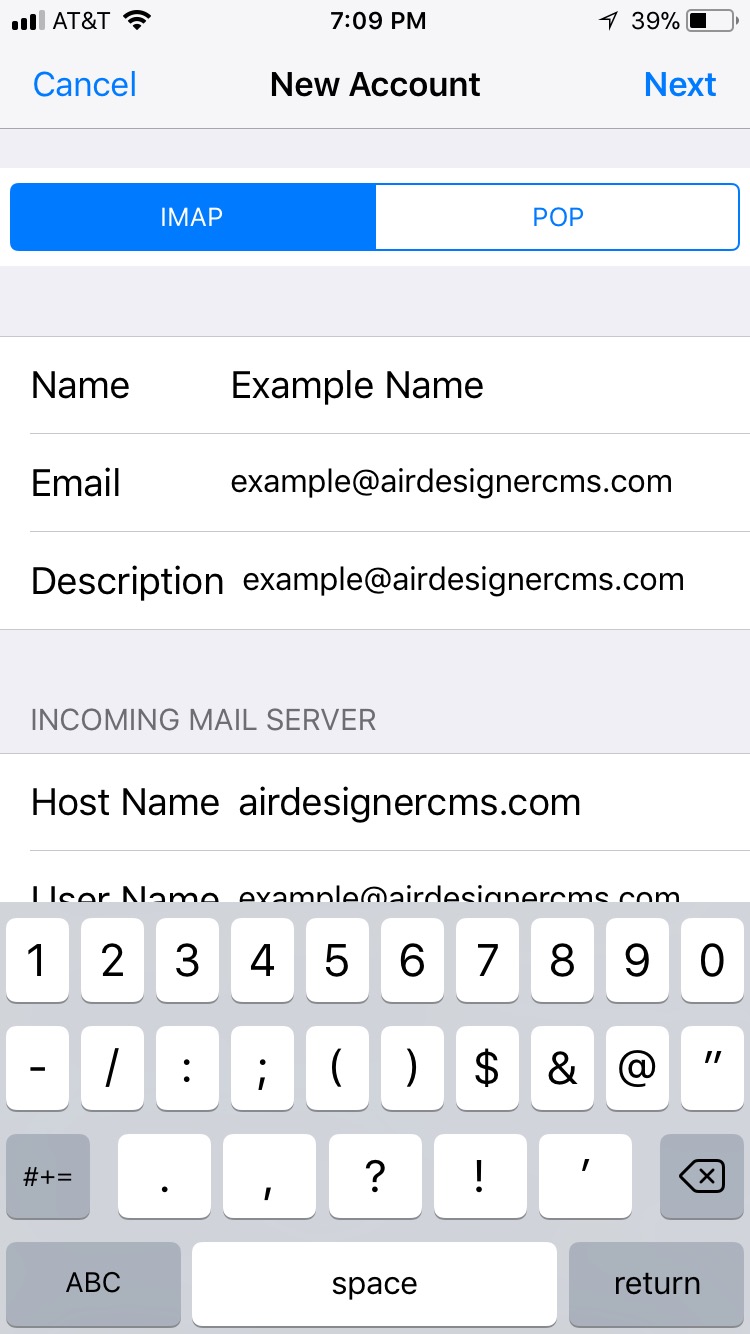
Be sure to only use IMAP.
Step 6
Complete "Incoming Mail Server" & "Outgoing Mail Server" with the exact same information.
Host Name: is your email domain name, this is whatever is after the @ symbol in your email address. For example in this screenshot it is "airdesignercms.com"
User Name: is you complete email address in this example it is "example@airdesignercms.com".
Password: Be sure this is the correct one, first before attempting, if uncertain test it by checking your email via Webmail here: https://airdesignercms.com/webmail/ Failure to enter your correct password may get your IP banned from the server, contact support for further details.

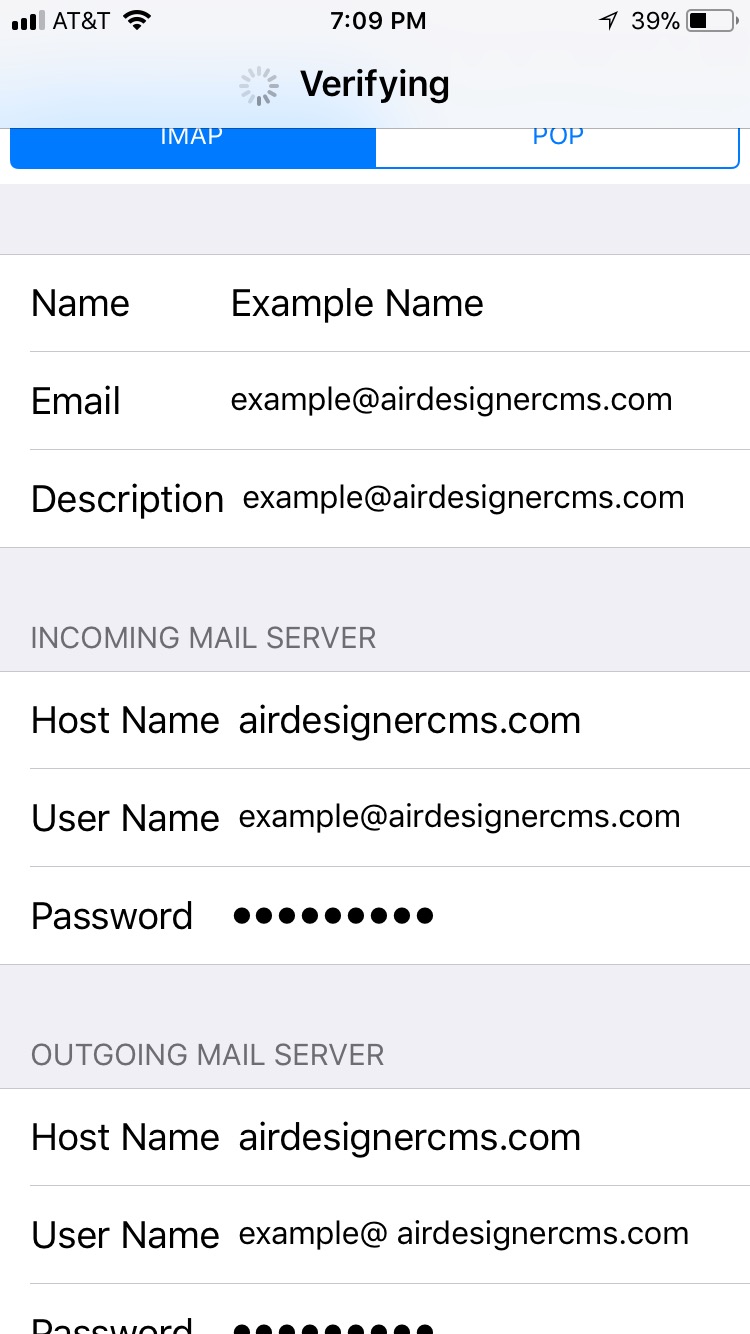
Step 7
Click "Next" During the verification process this alert will popup the first time you setup email on the IOS device. You must click "Continue".